How to Install EV Charger at Home: A Step-by-Step Guide

Is your electric vehicle (EV) spending more time plugged in than on the road? Relying on a standard wall outlet (Level 1 charging) can feel like filling a swimming pool with a garden hose. It takes days, not hours, to get a full charge.
The anxiety of waking up to a half-empty battery is real. It limits your freedom, forces you to hunt for public charging stations, and turns your cutting-edge vehicle into a source of stress. You bought an EV for convenience and performance, not to be tethered to your garage for 24 hours.
The solution is a dedicated Level 2 home EV charger. By upgrading your home setup, you can charge up to 8x faster, ensuring you start every day with 100% range. This guide walks you through exactly how to install an EV charger at home, from assessing your electrical panel to the final safety inspection.
Tl;DR: The Installation Process
How to Install an EV Charger at Home (Key Steps)
To install a Level 2 EV charger, first assess your electrical panel to ensure it has available capacity (usually 200 Amps). Next, choose between a hardwired unit or a NEMA 14-50 plug-in model. Obtain a municipal electrical permit, then hire a licensed electrician to run a dedicated 240-volt circuit from your breaker panel to the installation site. Finally, schedule a city inspection to verify code compliance.
Step 1: Assess Your Home’s Electrical Capacity
Before buying hardware, you must determine if your home can handle the extra electrical load. An EV charger is a heavy-duty appliance, often drawing as much power as an electric oven or dryer continuously for hours.
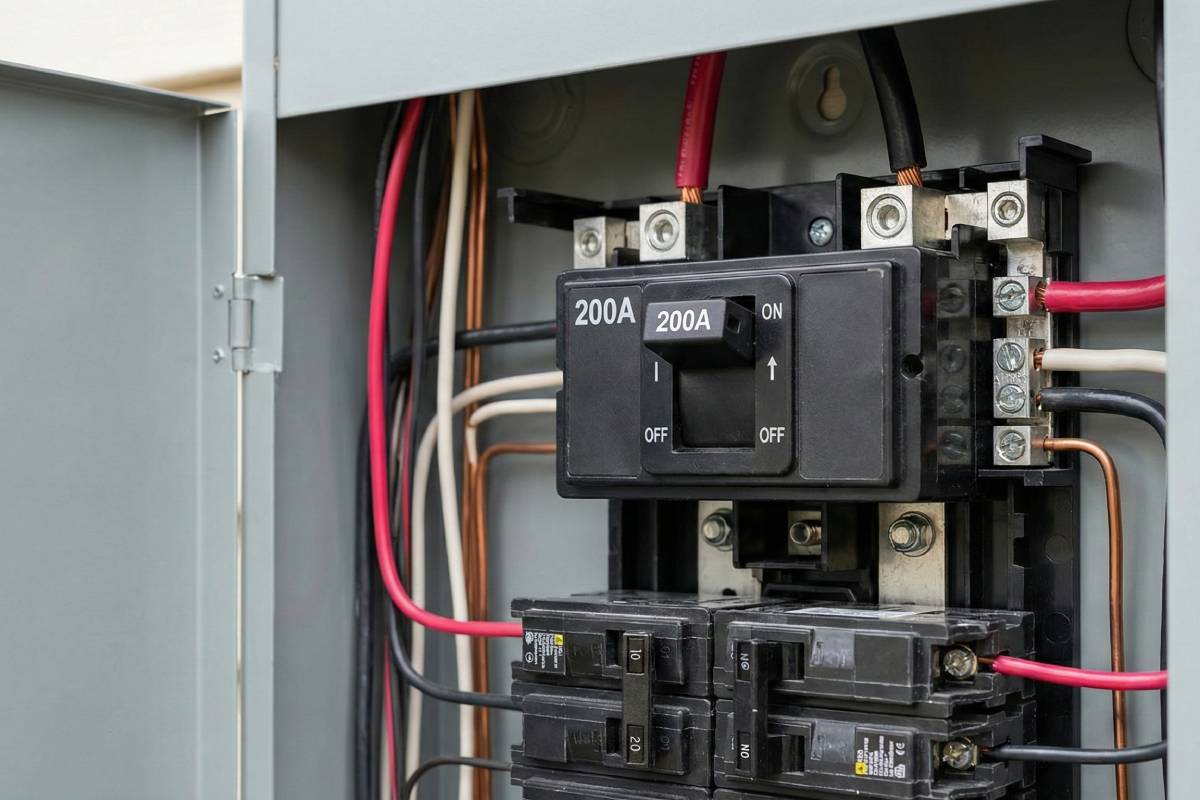
Check Your Service Panel Amperage
Most modern homes require a 200-Amp service panel to comfortably accommodate an EV charger alongside other appliances. If you are unsure about the components of your electrical system or why upgrades might be necessary, read our guide on what is a breaker box to understand how it protects your home’s grid.
- 100-Amp Panel: You may need a “service upgrade” or a “load management system” to prevent tripping the main breaker.
- 200-Amp Panel: Generally sufficient for most Level 2 chargers.
The “80% Rule” for Continuous Loads
Electrical code (NEC) classifies EV charging as a “continuous load.” This means your circuit must be rated for 125% of the charger’s output.
- To charge at 40 Amps: You need a 50-Amp breaker.
- To charge at 48 Amps: You need a 60-Amp breaker.
Step 2: Choosing Level 2: Hardwired vs. Plug-In
You have two primary installation options for Level 2 charging. Your choice affects charging speed, portability, and installation cost.
Option A: Hardwired Installation (Recommended for Speed)
The charger is permanently wired directly into the electrical box.
- Pros: Cleaner look, fewer failure points, supports higher charging speeds (up to 48-60 Amps).
- Cons: Not portable; requires an electrician to remove if you move houses.
Option B: Plug-In (NEMA 14-50)
The electrician installs a high-voltage 240V outlet (similar to a dryer outlet), and you plug the charger in.
- Pros: Portable (you can unplug the unit and take it with you), easier replacement.
- Cons: Limited to 40 Amps maximum charging speed; requires a GFCI breaker which can cause “nuisance tripping.”
Comparison: Hardwired vs. Plug-In
| Feature | Hardwired | Plug-In (NEMA 14-50) |
| Max Speed | Up to 11.5 kW (48A) | Up to 9.6 kW (40A) |
| Safety | Higher (No loose connections) | High (Requires GFCI) |
| Portability | Low | High |
| Weatherproofing | Excellent (Outdoor rated) | Good (Requires outlet cover) |
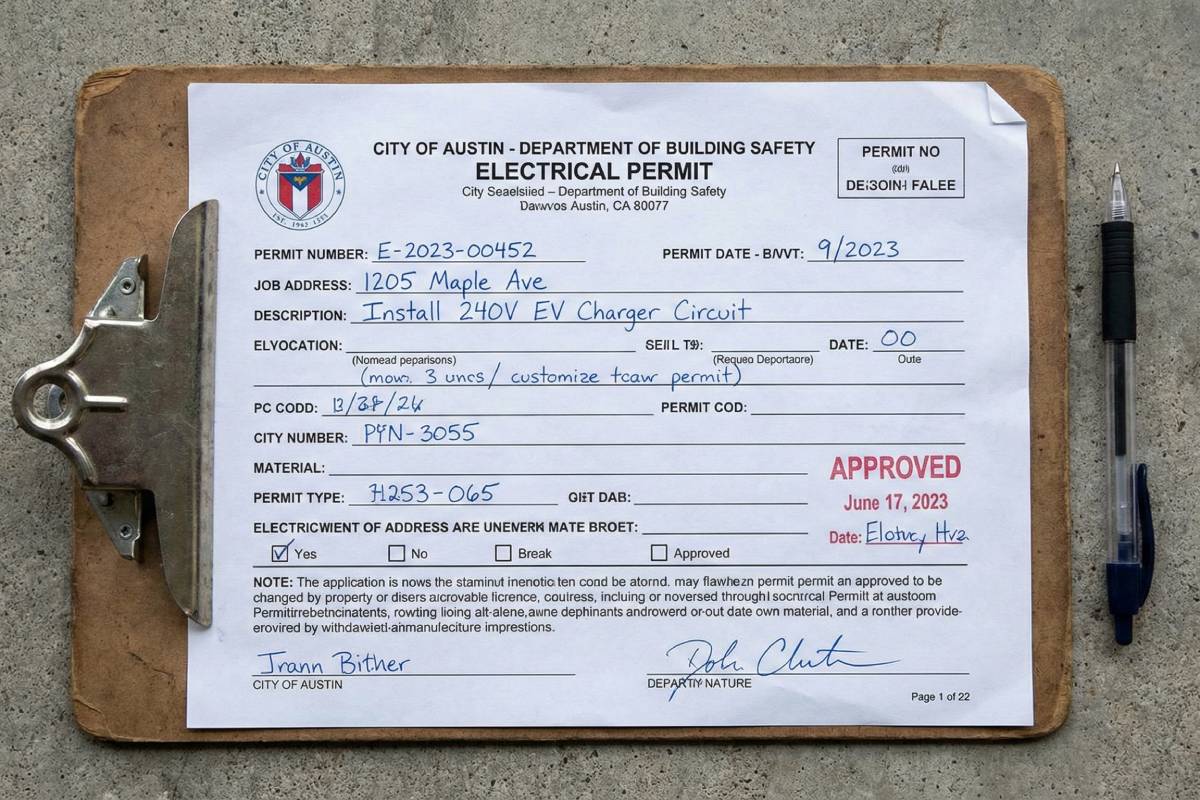
Step 3: Permits and Load Calculations
Do not skip this step. Installing a high-voltage circuit without a permit can void your home insurance policy and complicate future home sales.
- Load Calculation: Your electrician will perform a mathematical calculation of your home’s total energy usage to prove to the city that adding an EV charger won’t overload the grid transformer.
- Permit Application: Submit the load calculation and site plan to your local building department.
- Approval: Once approved, work can begin.
Step 4: The Installation Execution
While we recommend hiring a licensed professional, understanding the workflow helps you manage the project effectively.
1. Running the Conduit and Wire
The electrician will run conduit (piping) from your main panel to the garage or driveway. Inside, they will pull heavy-gauge copper wire.
- Wire Gauge Matters: For a 50A circuit, 6 AWG copper wire is typically standard. Using thinner wire (like 8 AWG or 10 AWG) creates a fire hazard due to overheating.
2. Making the Connections
- Torque is Key: Connections must be tightened to specific torque specifications using a torque screwdriver. Loose connections create “arcing,” which melts terminals and causes fires.
- Grounding: A dedicated ground wire ensures safety in case of a fault.
3. Why Local Expertise Matters
Electrical codes vary significantly by region. A general contractor might miss specific local requirements regarding load balancing or disconnect switches. For example, reputable specialists like Reds Power Solutions in Sydney are known for handling the entire process from load calculation to final compliance checks, ensuring your installation meets strict regional safety standards.
Cost Breakdown: What to Expect
Costs vary wildly based on the distance between your panel and the parking spot.
| Expense Category | Estimated Cost (USD) | Notes |
| EV Charger Unit | $400 – $800 | Depends on brand (Tesla, ChargePoint, JuiceBox) |
| Permits | $50 – $200 | Vary by municipality |
| Materials (Wire/Conduit) | $200 – $600 | Copper prices fluctuate; distance matters |
| Labor (Electrician) | $400 – $1,200 | Simple runs vs. complex trenching |
| Panel Upgrade (If needed) | $1,500 – $3,000 | Only if you have < 100A service |
| Total Estimated | **$1,050 – $2,800+** | Before tax incentives |
Pro Tip: Check the “Inflation Reduction Act” or local utility rebates. You can often claim a tax credit for 30% of the hardware and installation costs (up to $1,000).
Conclusion
Installing an EV charger at home is an investment in your time and peace of mind. It transforms your vehicle from a logistical headache into the convenient machine it was designed to be. While the upfront cost of permits and electricians may seem steep, the daily convenience of waking up to a “full tank” is priceless.
Ready to ditch the public charging station lines? Start by taking a photo of your electrical panel today, it’s the first step toward your energy independence.